Car interior detailing isn’t really about effort — it’s about understanding the micro-geometry of the surfaces. The difference between “wiping the cabin down” and “deep-cleaning it” comes down to exactly that. A flat cloth glides over the peaks of a texture and lifts only what sits on top. The real grime lives deeper: in the pores of vinyl, in the stitching, in the gaps. The only way to reach it is mechanical agitation — bristles lift dirt out of the valleys, and the cloth collects it afterwards. That’s the core principle of detailing: the right tool matters more than expensive chemistry.
Below is a step-by-step protocol: where to start, what to work with, which order to clean the zones in, and where it’s easy to ruin a surface without realising it.
Preparation: set up the work area
A few minutes of prep saves time and lowers the risk of damaging something.
Roll the windows halfway down. A line of grime always hides on the upper edge of the glass, tucked inside the weather stripping. Lowering the window opens access to it.
Clear the loose debris and mats first. Shake out and vacuum before anything wet — loose dirt has to go before it mixes with liquid cleaner and turns into an abrasive paste.
For a deep clean, professionals remove the front seats to open up the centre tunnel and the areas underneath. For a one-off home clean this is overkill and carries risk — on modern cars the seat connectors are tied into the airbag system, and disconnecting them can trigger a dashboard warning. If you go that route, do it knowingly; otherwise leave the seats in place and work with narrow attachments. The same goes for disconnecting the battery: it’s only needed for very long sessions with the doors open, to avoid draining it with the cabin lights — and be aware it can reset the radio and clock settings.
The tools you can’t do without
The kit is minimal, but it’s what determines the result:
- Detailing brushes of varying stiffness — to agitate grime out of plastic pores, vents, stitching and grilles.
- Two types of microfiber: high-pile (long fibres — for trapping dry dust and final buffing) and low-pile (dense weave — for degreasing and streak-free glass).
- A vacuum with narrow attachments and, if possible, a steam cleaner — for deep channels and thermal cleaning.
- Chemistry: a mild all-purpose interior cleaner, soapy water, an ammonia-free glass cleaner, and a UV-blocking protectant (matte and gloss).
One rule up front: never use paper towels on soft plastic — wood fibres act like sandpaper and leave a web of micro-scratches, especially on the dashboard.
Zone 1. The dashboard
Work in three steps: dust, clean, protect.
Step 1. Remove the dust. Lightly dampen a high-pile microfiber with water (spray the water onto the cloth, never into the cabin). Run a brush through the air vents while working a narrow vacuum attachment alongside it: the brush lifts the dust, the vacuum captures it immediately before it can settle on already-clean areas.
Step 2. Deep clean. Apply cleaner to the brush, don’t spray it onto the panel — an uncontrolled mist lands on glass and electronics. Work the textured plastic to dissolve embedded grime, then wipe dry immediately. Dirt embeds in the pores where a flat microfiber can’t reach, which is why a detailing brush set with varying bristle stiffness is indispensable here: soft for the vents, firmer for the textured plastic.
Step 3. Protect. Apply a UV-blocking protectant, let it absorb for 1–2 minutes, then buff with a dry microfiber. The surface should stay dry to the touch and never tacky. More on choosing matte versus gloss below.
A special case: the gauge cluster lens
The clear plastic over the instruments is the softest material in the car and scratches instantly. The rules are strict: no paper towels (scratches), no compressed air (it blows dust inside the sealed cluster, where you can’t retrieve it without disassembly). Use only a slightly damp soft microfiber, with strictly linear motions (horizontal or vertical), no circles and no pressure. Circular motions leave concentric swirl marks that catch the light from every angle.
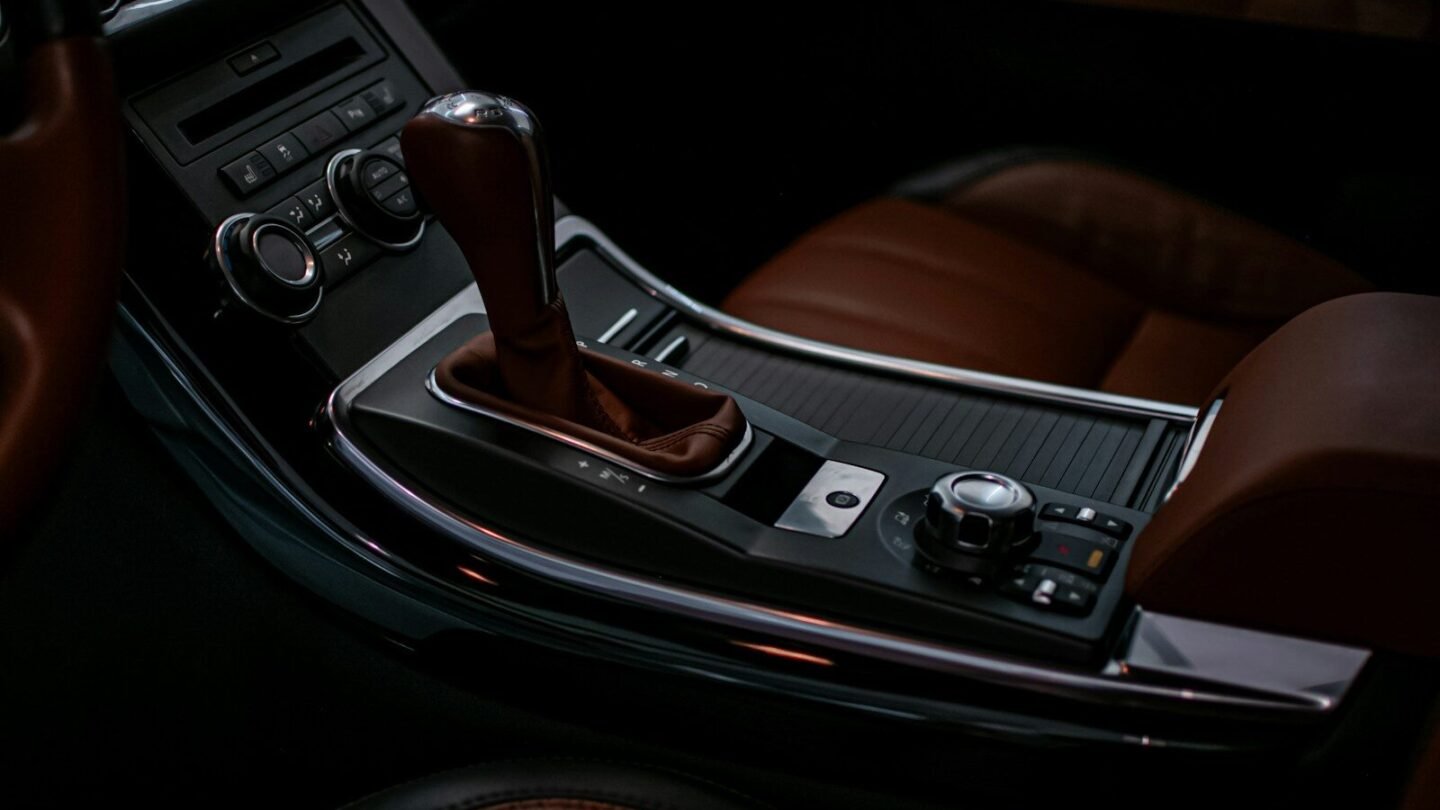
Zone 2. Controls: clean, never slick
The guiding principle here is no oily protective shine. The steering wheel, pedals and shifter must keep maximum grip, or the cleaning turns into a safety hazard.
Steering wheel. The shiny layer on a wheel isn’t worn material — it’s a build-up of oils, sweat and grime. Clean it with mild soapy water; a toothbrush works the dirt out of the stitching and brings the threads back to their original colour. Wipe dry afterwards. No protectants or conditioners on the wheel.
Pedals. Place a towel beneath the pedals to catch the runoff. Work the rubber treads with a stiff brush and soapy water; dislodge stuck stones with a thin screwdriver or pick. Any oily or silicone-based product on the pedals is off limits — it’s a direct cause of the foot slipping under braking.
Stalk switches. Aggressive chemistry and hard friction wear off the printed symbols (lights, wipers). Use only weak soapy water and minimal pressure with a soft cloth.
Zone 3. Door panels
A door is several different surfaces, and each needs its own approach.
- Textured plastic and buttons: a brush with cleaner flushes grime out of the gaps; a gloss protectant restores the colour of faded plastic.
- Speaker grilles: brush only — cloth can’t reach into the perforations. Apply product straight to the brush so you don’t clog the holes.
- Fabric inserts: carpet cleaner → agitate with a brush → extract immediately with a wet/dry vacuum, before the dirt dries back in.
Don’t forget the door jambs and sills: clean not just the sill itself but the rubber wire loom too (cleaning plus a protectant prevents the rubber from cracking with temperature swings).
Zone 4. The centre console and thermal cleaning
Cup holders and console bins are the main collectors of crystallised sugar from drinks and bacterial film. Ordinary wiping won’t shift it. This is where steam earns its place.
First, pull the rubber inserts out of the cup holders. Dried sugar won’t come off with a cloth, but a handheld steam cleaner under pressure melts the residue and kills bacteria at the same time, without aggressive chemistry. After steaming, go over the remainder with soapy water and a brush. Finish by treating the rubber inserts with a protectant: spilled drinks no longer stick to protected rubber and wipe away easily.
Zone 5. Flawless glass
Two ground rules. First: glass cleaner must be ammonia-free, or it can damage aftermarket window tint. Second: spray the product onto the towel, not the glass — the mist settles on the dashboard and leaves spots.
A professional result comes from the three-towel method. Since the protocol distinguishes between pile types, it’s easier to keep a microfiber set with both high and low pile on hand:
- Towel 1 — cleaning (low-pile, damp): heavy pressure, horizontal first then vertical — dissolves the grease.
- Towel 2 — drying (low-pile, dry): absorbs the dissolved dirt and cleaner residue along the same cross-hatch path.
- Towel 3 — buffing (high-pile, dry): light circular motions remove the final haze for crystal clarity.
The rear window with heating elements must be wiped strictly horizontally, along the lines. A motion across them can sever a heating element and disable the defroster.
The seam where the windshield meets the dashboard is out of reach by hand. Wrap a towel around a flat extended-reach tool; it’s easier to work from outside through an open door, which covers more area.
Protection: matte or gloss finish
Choosing a finish isn’t only about looks — it’s also about driving safety.
- Matte / low-gloss — for the upper dashboard pad. Absorbs light and prevents blinding glare on the windshield.
- High-gloss — for door panels, lower plastics, areas that don’t reflect into the glass. Restores the rich colour of faded plastic.
- Gloss trims (piano black, “wood”) — treat like exterior paint: not with an interior protectant but with a waterless wash & wax, which cleans and seals at once.
Car interior detailing checklist: what to verify
- Gauge lens — no scratches, dust or swirl marks.
- Dashboard — a natural matte look with no glare-causing shine.
- Stalk switches — symbols intact, not stripped by chemistry.
- Steering wheel — no oily shine, stitching clean, no protectant applied.
- Pedals — rubber cleaned deep in the treads, stones removed, surface not slippery.
- Glass — top edges clean, no haze at a sharp angle.
- Door jambs — sills, rubber loom and hinges all cleaned.
True cleanliness is the absence of foreign matter, not its masking under a layer of gloss. Clean stitching, dust-free vents and washed cup-holder inserts — these are the small things that separate deep car interior detailing from a quick wipe-down and make a car feel new again.
💡 This review contains affiliate links. If you click through and make a purchase, we may earn a commission at no extra cost to you. This supports our editorial work and does not affect our recommendations. Learn more →